
but, I guess that’s what DIY is all about.
Last week, I sat out to create three small push-pin boards to hang in a row near the desk in my office. Remember? The one we refurbished. Well, as with most projects around the house, thankfully Jeff was there to help. In fact, I looked at him while we were making these and said, “is this what you imagined you’d be doing when you bought this house?” He just looked at me with a scowl, so I took it as a no. 🙂
As the title hints, after a little trial and error we succeeded! The first one had no batting in between the fabric and the canvas, and the second one had too much, but by the time we made the third one it was just right. Needless to say we had to redo those first two failed attempts.
Since I think we finally got it right, I thought I’d share our steps in case you wanted to give it a try.
*Disclaimer: we’re not experts, we’re just thinking of these things as we go along.
1. Start with blank canvases. I started out with three 6×6 inch canvases, but you can use whatever size you like.

2. Get a package of batting from a craft store. Lay out the batting and fold it in half to create a double layer that will cover the top of the canvas.

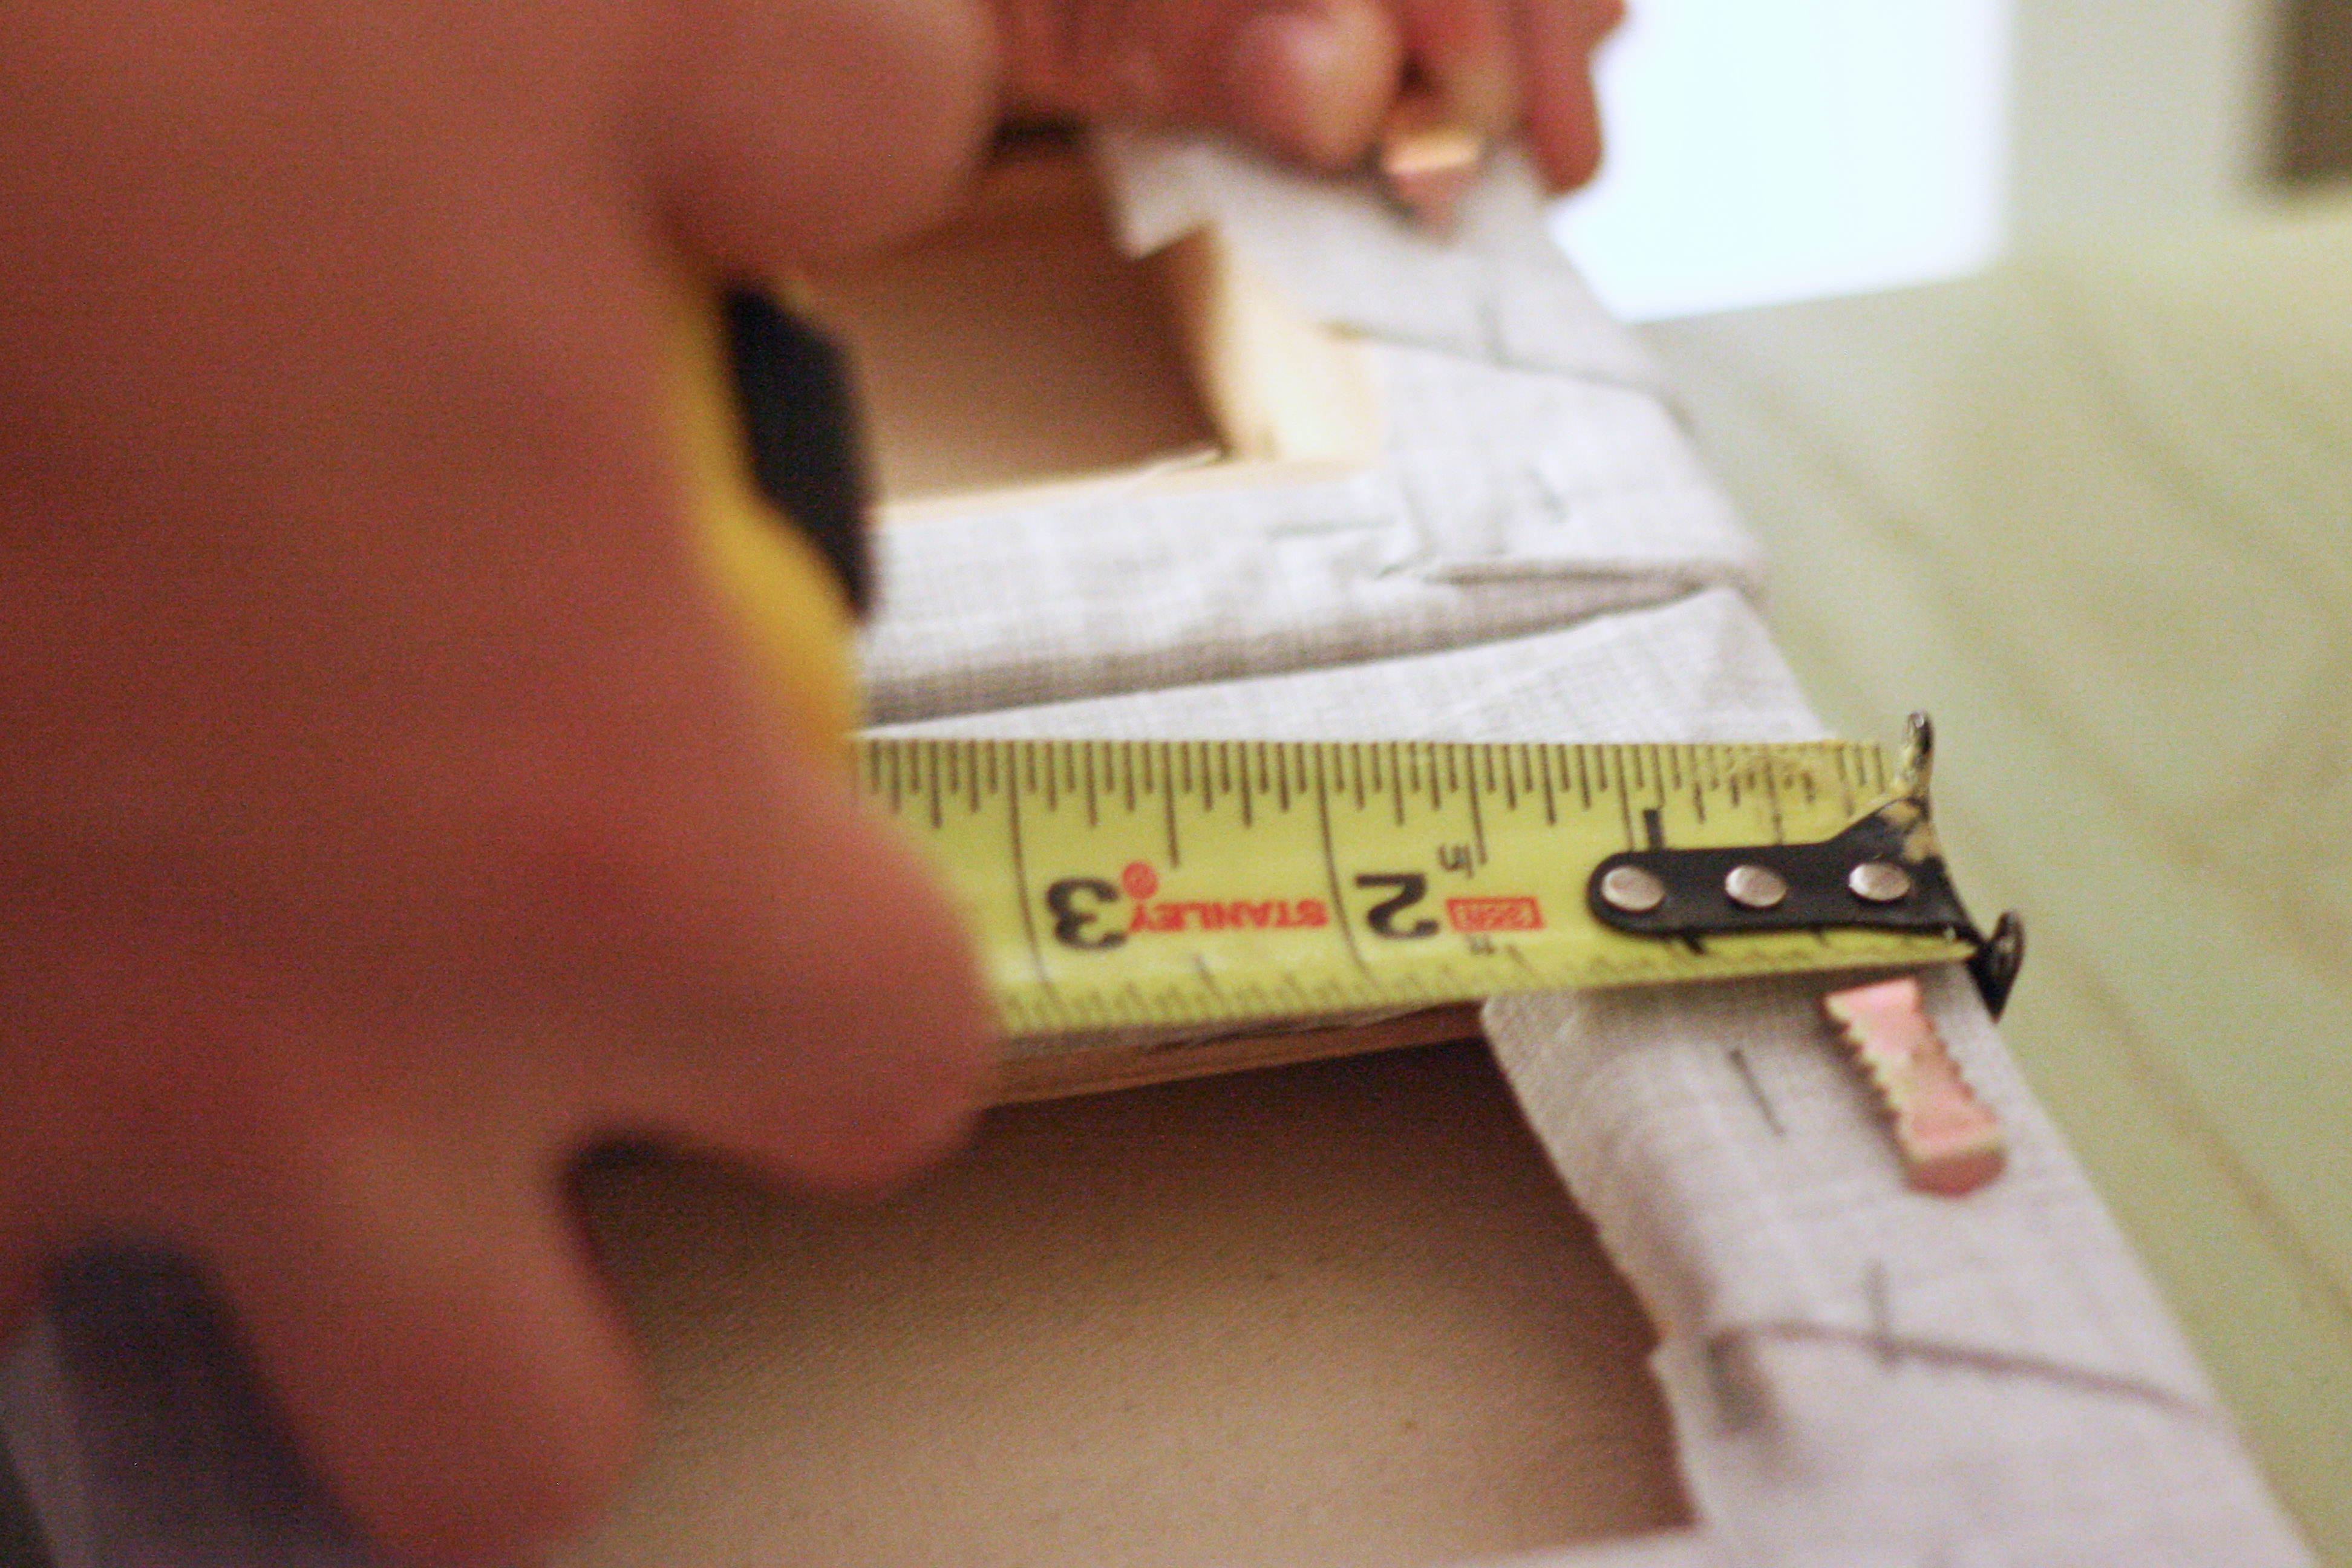
3. Measure the batting and cut a half-inch shorter than the top of the canvas on each side.

4. Lay out the fabric of your choice, then lay the canvas over the top and cut out enough on each side to fold over the back of the canvas. In our case, we cut an additional three inches on each side.

5. Pull the canvas tight over each side and use a staple gun (I found one for $10 at Michaels) to staple each side tightly to the back of the canvas. Wrap it similar to a present, folding two parallel corners in a triangle.


6. Iron each side on a medium heat using a light amount of steam to help flatten each corner.


7. Lastly, and this one is optional, but since I was hanging them on the wall we put picture hooks on the back of each board. Those hooks can also be found at any craft or home improvement store.
And last, but not least, the finished product…

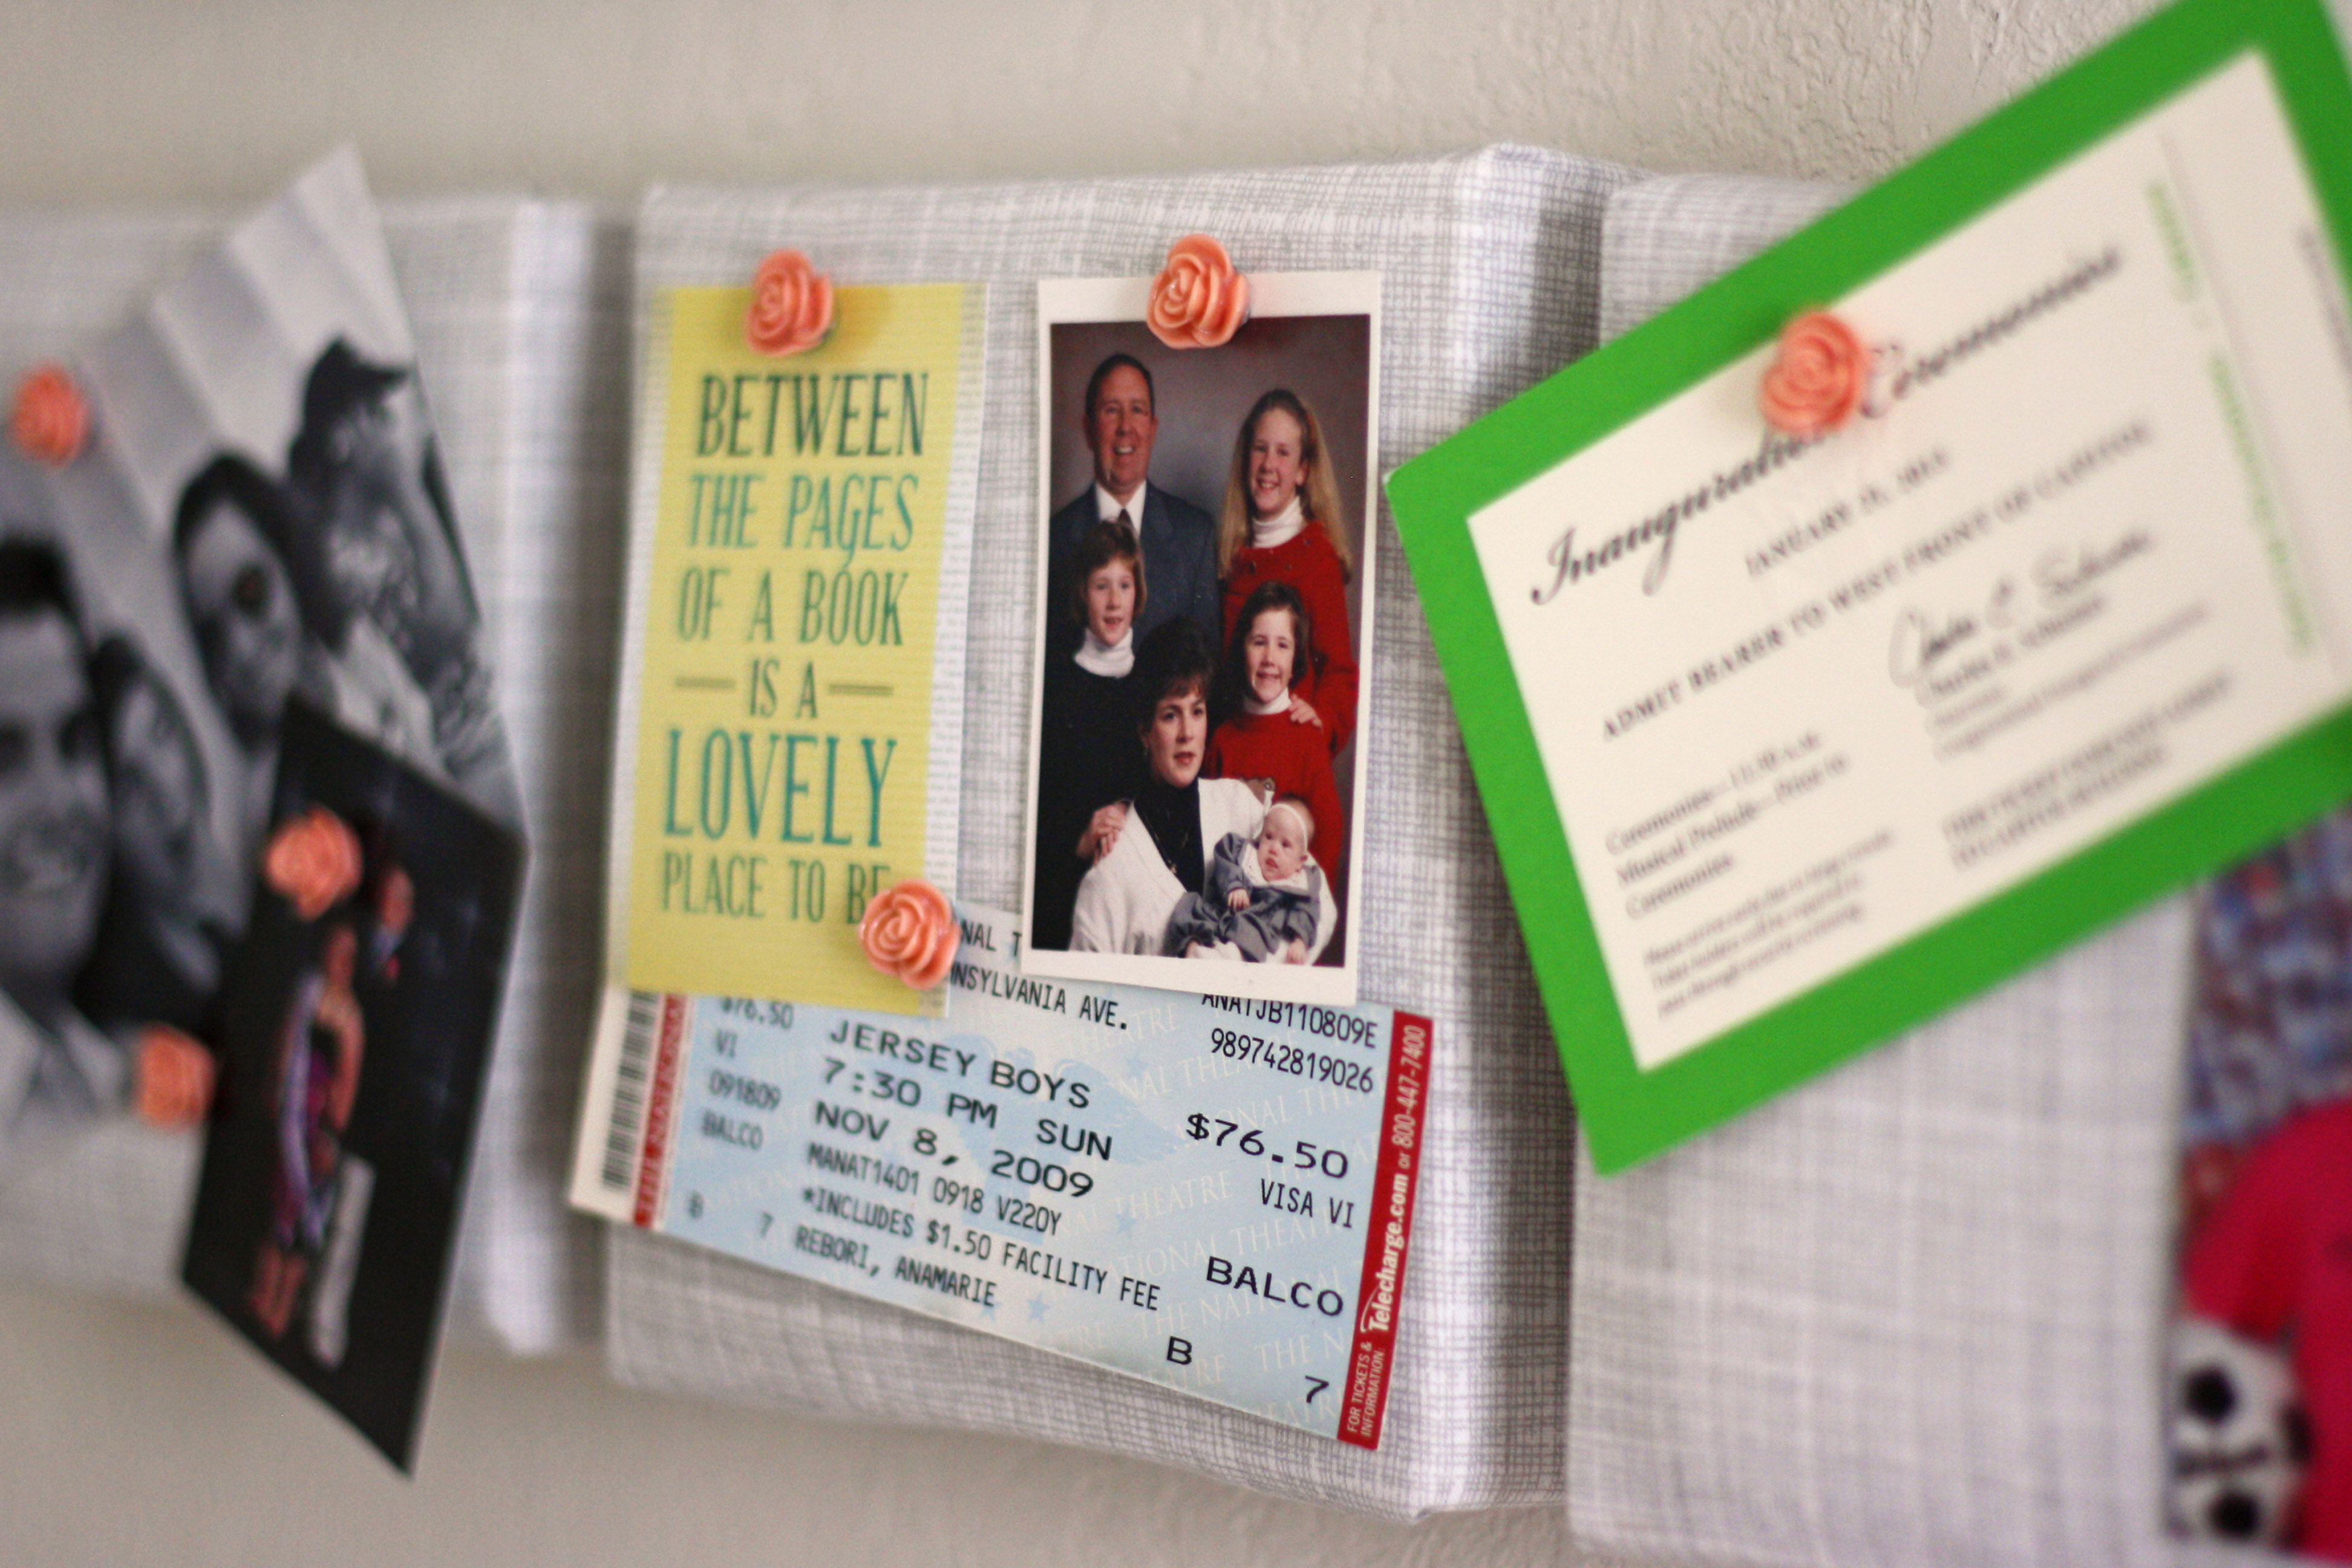
I added a few pictures and ticket stubs to start, but I’m sure I’ll add more as I go. My apologies to my family for putting that old photo front and center. 🙂
Also, I found the little rosebud push pins on Etsy, here.
Let me know what you think. Feel free to share any of your DIY tips. I’m always looking for new ideas!


